


Baby Headbands: How to Easily Convert Infant Headbands into Adorable Bows
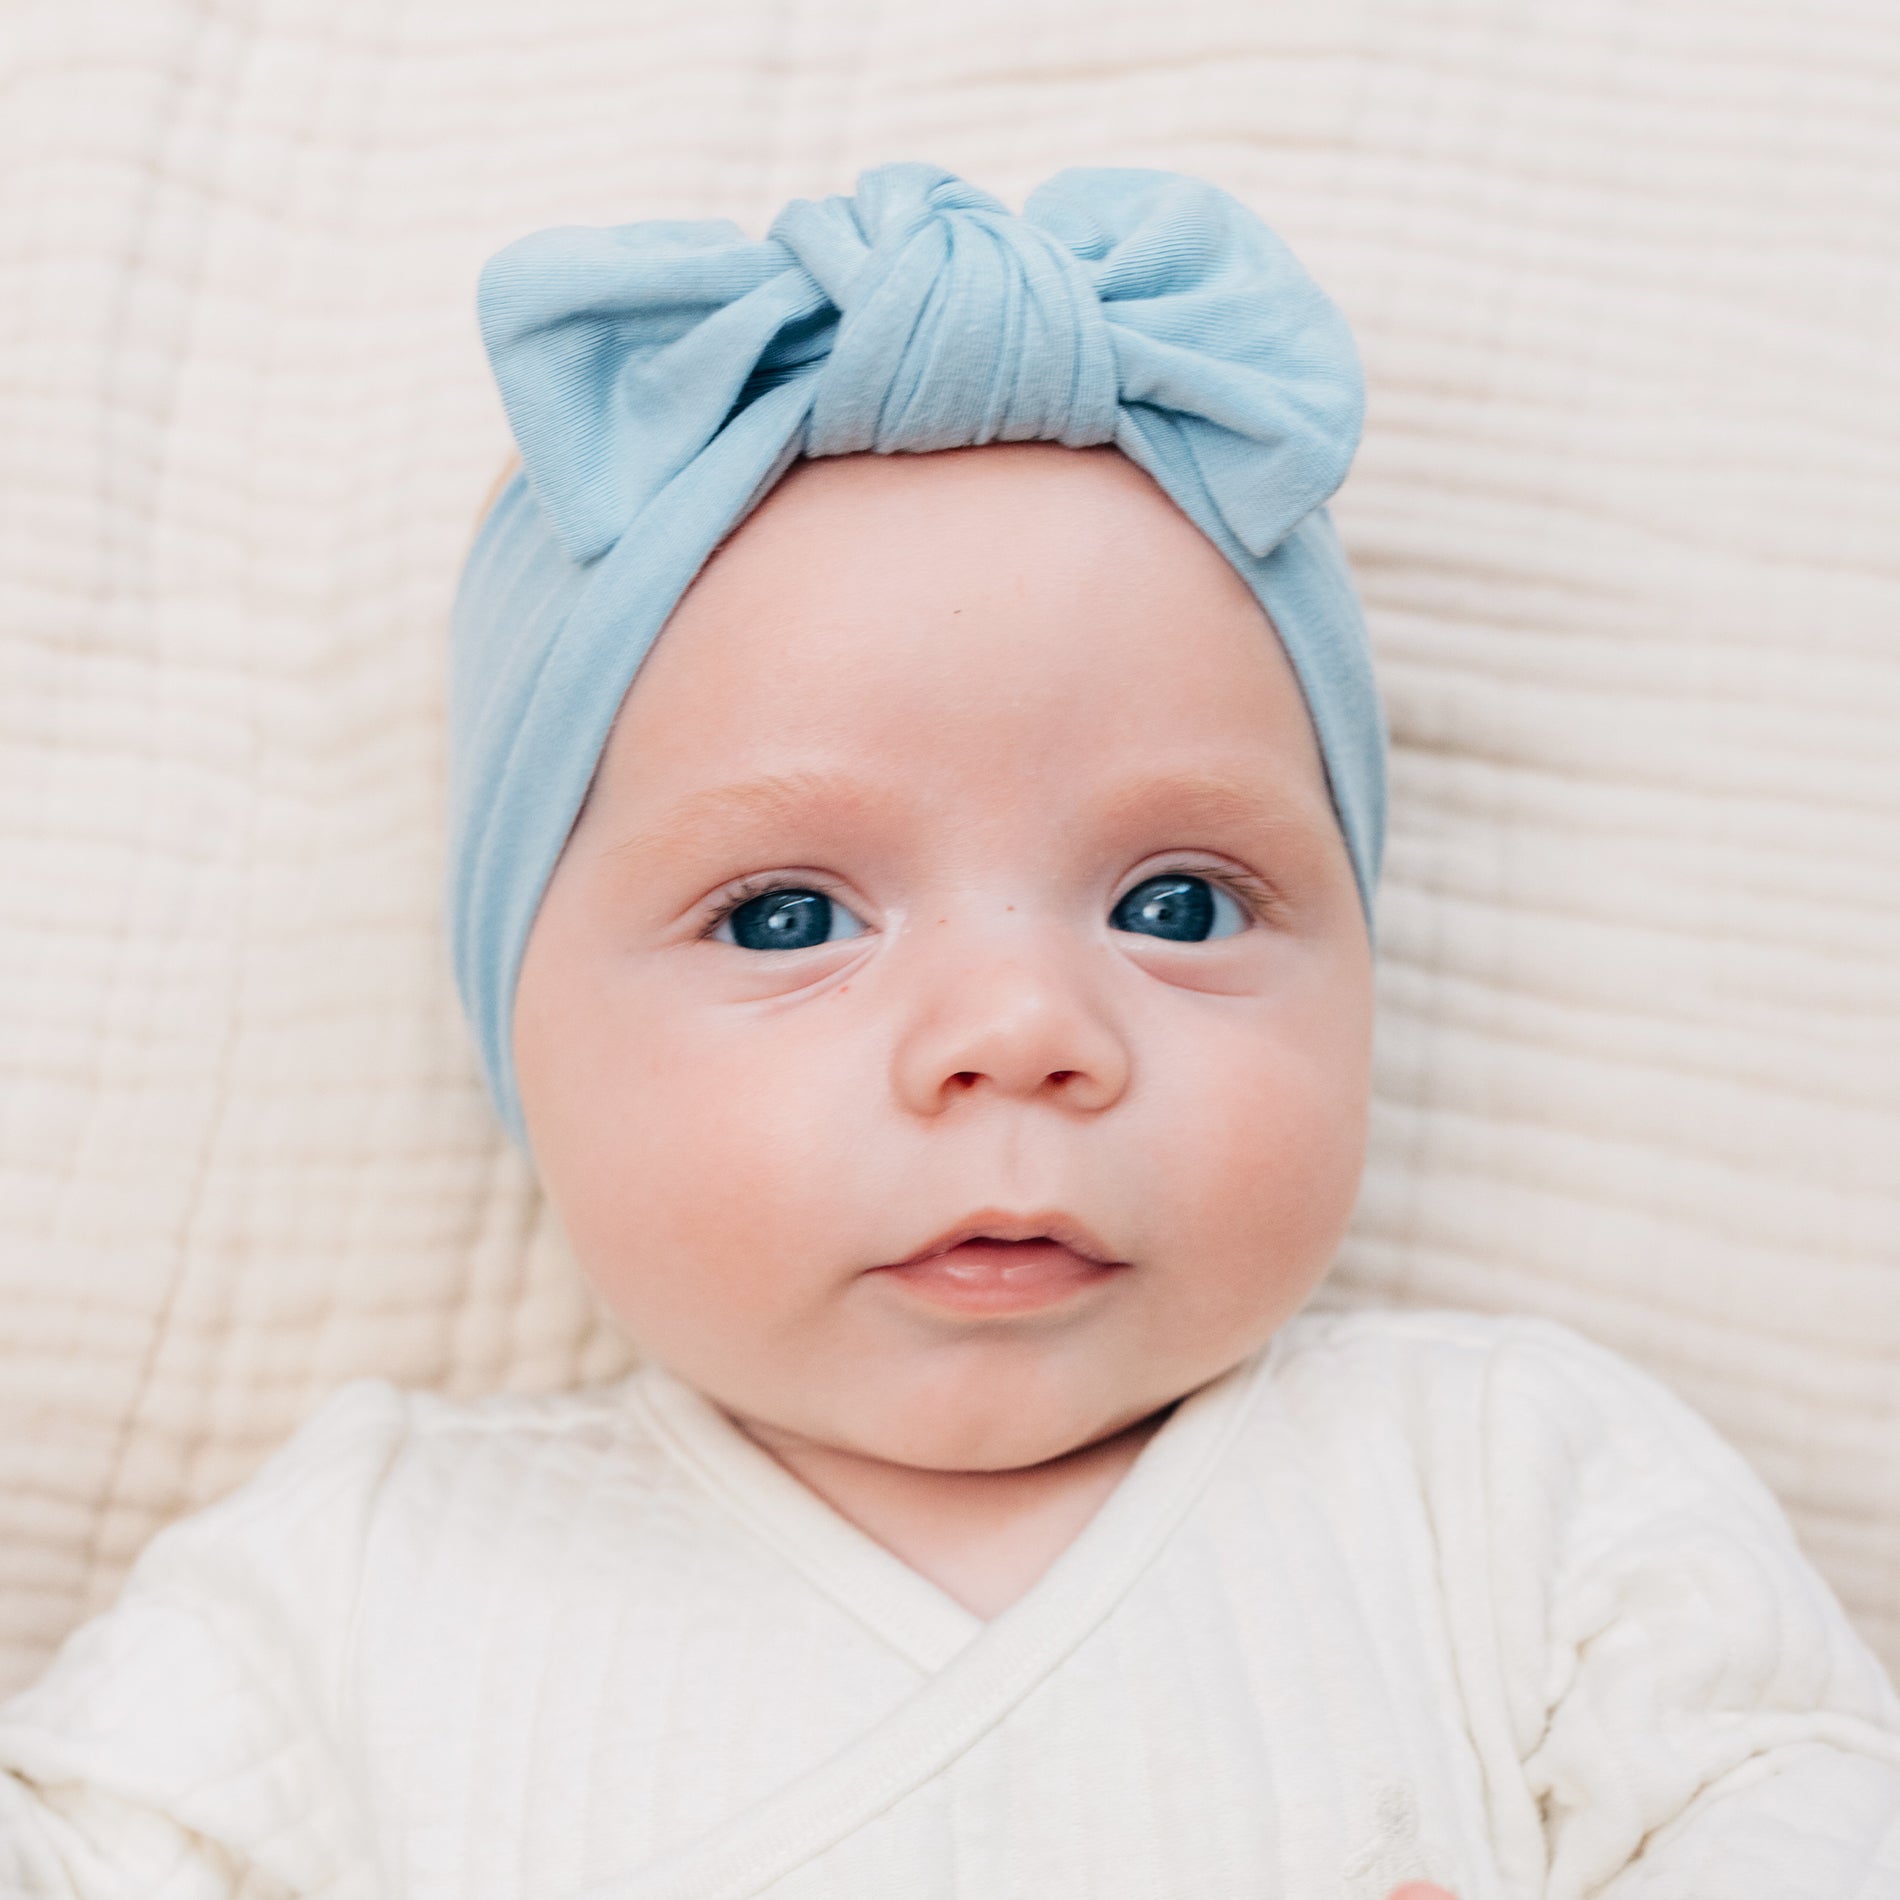
Baby headbands and bows are adorable accessories that can enhance your little one's outfit while keeping her stylish. However, if you have a collection of baby headbands and want to switch things up, you can easily transform them into bows. This guide will walk you through the simple steps to repurpose your infant headbands into charming bows for your newborn.
Why Convert Baby Headbands to Bows?
Many parents love accessorizing their babies with infant headbands and bows, but sometimes, headbands can feel too tight, or you may just want a fresh look. Converting a baby headband into a bow gives you versatility while making the most of your baby’s accessory collection. Whether you want to create a standalone bow or attach it to a clip, this DIY process is simple and fun.
What You Need
Before you start, gather the following materials:
-
Infant headbands (stretchy fabric works best)
-
Scissors
-
Needle and thread (or fabric glue)
-
Hair clip or elastic band (optional)
-
Ruler or measuring tape
-
Hot glue gun (optional)
Step-by-Step Guide to Convert Headbands into Bows
Step 1: Choose the Right Headband
Select an infant headband that you want to transform. Soft fabric headbands work best because they are easier to reshape and sew. If the headband has an attached embellishment, carefully remove it with scissors.
Step 2: Cut the Headband
Lay the headband flat and measure about 6-8 inches (depending on the desired bow size). Cut the fabric strip cleanly using sharp scissors. If you want a smaller newborn bow, trim the fabric accordingly.
Step 3: Create the Bow Shape
-
Fold the fabric strip in half lengthwise.
-
Tie a simple knot in the middle to form the bow’s basic shape.
-
Adjust the loops to your preferred size and fluff them out for volume.
If you prefer a structured bow, fold the ends inward and secure them with a few stitches or fabric glue to maintain the bow shape.
Step 4: Secure the Center
Take a small strip of fabric (about 1 inch wide) from the excess headband material and wrap it around the center of the bow. This will define the bow shape and hide the knot. Secure the ends with a few stitches or use hot glue for a quick fix.
Step 5: Attach to a Clip or Elastic (Optional)
If you want to convert your bow into a hair clip, attach it to an alligator clip using hot glue. Alternatively, you can sew an elastic band onto the back if you prefer a stretchable infant headband bow.
Step 6: Style and Enjoy
Your converted newborn headband bow is ready to wear! Pair it with cute outfits, and mix and match different colors and styles.
Creative Ways to Style Baby Headband Bows
Once you’ve transformed your baby headbands into bows, here are a few fun ways to style them:
-
Classic Hair Bow – Attach to a clip and place it on the side of your baby's head for a timeless look.
-
Ponytail Wrap – Use the bow to secure a small ponytail for toddlers.
-
Bow on a Beanie – Stitch the bow onto a soft baby hat for extra charm.
-
Adjustable Baby Bow – Sew an elastic loop at the back to make an adjustable headband bow.
Tips for Maintaining Baby Headband Bows
To ensure your baby bows last long:
-
Hand wash gently to prevent fabric fraying.
-
Store in a dry place to maintain shape.
-
Use fabric stiffener if you want a more structured bow.
Final Thoughts
Converting baby headbands into bows is an easy and cost-effective way to refresh your baby’s accessories. With just a few simple steps, you can create a variety of adorable infant headband bows that match different outfits. Whether repurposing old headbands or making a DIY newborn bow for a special occasion, this fun project is perfect for any parent who loves stylish baby accessories!

